Harness Nature's Palette: Create Beautiful DIY Decor from Kitchen Waste
In a world where sustainability is gaining momentum, the idea of transforming everyday kitchen waste into stunning home decor has never been more appealing. Imagine walking past vibrant wall hangings dyed in the rich hues of onion skins or lush table runners stained with the natural colors of beet juice. With harnessing nature's palette, it’s possible to awaken your artistic spirit while doing good for the environment. So roll up your sleeves, grab that half-used bag of turmeric, and let’s dive into the delightful universe of natural dyes drawn directly from your kitchen!
The Beauty of Natural Dyes in Home Decor
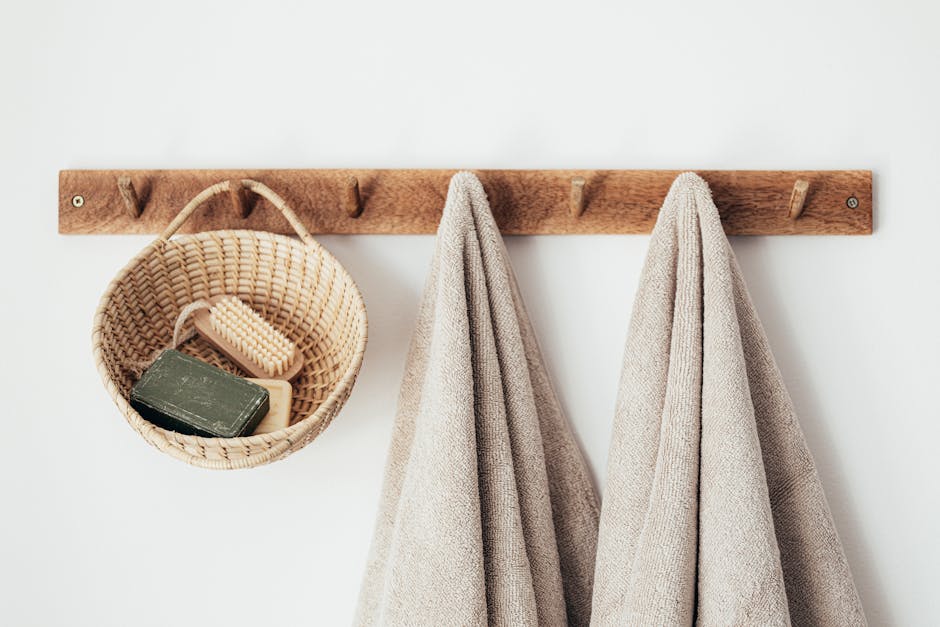
Natural dyes offer a treasure trove of possibilities for DIY enthusiasts looking to add a personal, eco-conscious touch to their homes. Unlike synthetic dyes that can harm the environment, natural dyes are sourced sustainably and are usually non-toxic. This reincarnation of waste into beauty not only provides unique aesthetics bypassing trends but also contributes to an eco-friendlier planet – talk about a win-win!
Moreover, the versatility of natural dyes allows them to be used on various materials, including fabrics, paper, and wood. The process is engaging and, dare we say, therapeutic, as you see everyday waste transform into something magical. Check out other transformative ideas for upcycled materials in Upcycle Materials for Home Decor.
Why Use Kitchen Waste for Dyes?

Utilizing kitchen waste for dyeing elevates your home decor while minimizing your carbon footprint. Consider this: You’re consuming food and beverages, and tossing out the remnants. Instead, you could utilize that waste to create beautiful, one-of-a-kind decor. For instance, avocado pits and skins yield a captivating soft pink hue, perfect for cozy throw pillows, while coffee grounds provide rich browns, offering an inviting warmth to any space.
Additionally, using kitchen waste for dyeing promotes sustainability, encourages creativity, and fosters a deeper connection with the materials you choose to surround yourself with in your living space.
Getting Started: What You’ll Need

Before we set off on this colorful adventure, it's crucial to prepare. Here’s a list of items you’ll need to uncover the possibilities of natural dyeing:
-
Kitchen Waste: Gather items like onion skins (yellow and red for golden and reddish hues), avocado pits and skins (pink and beige), turmeric (vibrant yellow), beetroot (bold pink), coffee grounds (dark brown), and any other vegetable scraps you usually toss.
-
Fabric and Materials: Opt for natural fibers like cotton, linen, or silk, as they absorb dyes better. You can also experiment with paper for unique crafting projects.
-
Large Pot and Sieve: Used for boiling the dye materials and straining out the solid parts.
-
Mordant (optional): This is a substance that helps set the dye into the fabric. Common mordants include alum or vinegar (more on this later!).
-
Water: You'll need plenty of water for boiling and dyeing.
Step-by-Step Guide to Dyeing with Kitchen Waste

Let’s delve into the practical aspect of our colorful journey, shall we? Below, we'll explore the dyeing process step by step, ensuring you can achieve beautiful results even as a beginner.
Step 1: Prepare Your Dye Material
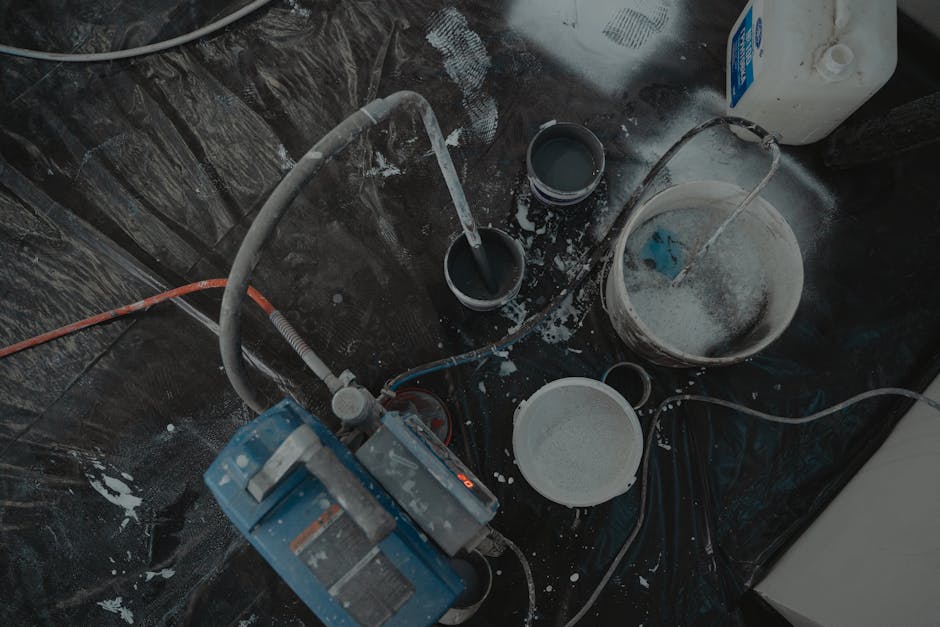
Decide on what you’ll dye and which kitchen scraps you want to use. Gather about two cups of waste material for a good color saturation. For instance, for a deep golden hue, collect onion skins. Chop them coarsely and soak them in water overnight to release their dye.
Step 2: Create the Dye Bath

Place your kitchen scraps in a large pot and cover them with water. The more scraps you use, the more vibrant your dye will be. Bring the mixture to a boil, then let it simmer for an hour. As the colors begin to infuse the water, enjoy the hearty aroma wafting through your kitchen.
Step 3: Strain the Dye

Once your dye has reached the desired color, remove the pot from the heat and carefully strain the liquid into another container, discarding the solid scraps. This concentrated dye is what you'll use for your fabric.
Step 4: Prepare the Fabric
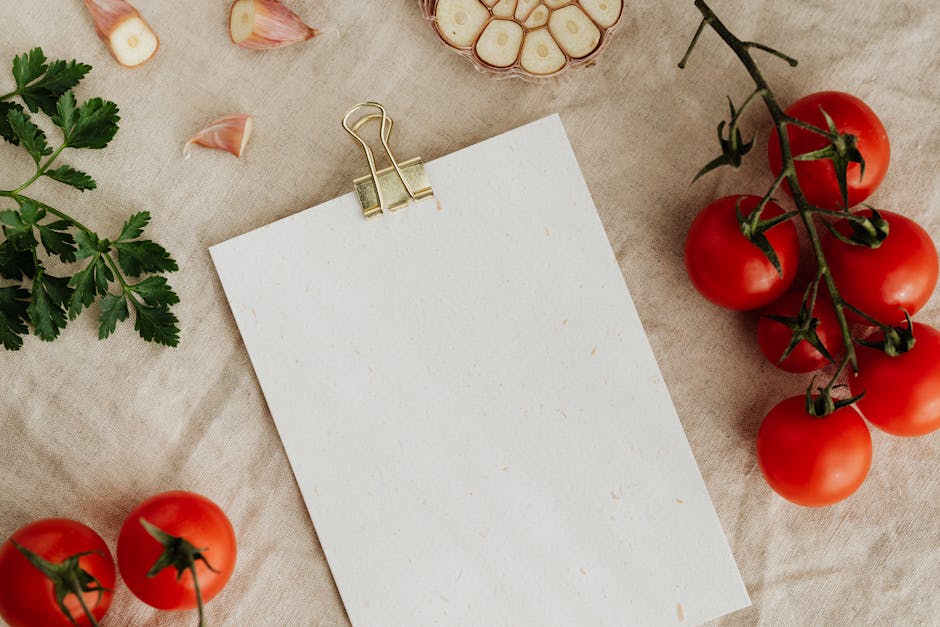
Before dyeing, it’s advisable to wash your fabric to remove any finished residues. For better results, you may pre-mordant your fabric if using a mordant. Simply soak your fabric in a mordant solution (like vinegar or alum), then rinse it before dyeing. This step ensures the color adheres better.
Step 5: Dye Your Fabric
Soak the prepared fabric in the cooled dye bath. The timing will vary based on the desired intensity of color. It might take anywhere from half an hour to overnight. Don’t hesitate to check back to see how it’s progressing!
Step 6: Rinse and Dry
Once the fabric has reached your preferred shade, rinse it under cold water until the water runs clear. Hang it out to dry in a shady spot to preserve the color vibrancy.
Creative Ways to Use Your Natural Dyes
So you’ve created your unique hues! Now, let’s talk about how to incorporate your new dyed items into your home decor. Here are some inspiring ideas to fuel your creativity:
1. Turn Fabric into Wall Hangings
Your newly dyed fabric pieces can transform into vibrant wall art. Use simple wooden dowels to hang your creations in entryways or as a statement piece in your living room. Frame smaller versions for an art gallery wall effect!
2. Custom Table Runners and Napkins
Imagine impressing your guests with a wiped-clean table adorned with a hand-dyed table runner and matching napkins! Go for deep reds, burnt oranges, or earthy greens depending on the season. Get creative by tying some knots for a tie-dye effect!
3. Unique Upholstery Projects
Fancy covering some cushions? Use your natural dyes to create a repurposed look for old upholstered furniture. Subtle tones can perfectly complement modern furnishings while bold hues make a statement.
4. Gift Wrapping with Style
Use dyed fabric as beautiful, eco-friendly wrapping material. Adding an unexpected surprise factor to your presents adds a personal touch, and makes the recipients fall in love even before unveiling their gift.
5. Braided or Knotted Rugs
Join smaller fabric pieces together to create a stunning area rug. The hues woven into the rug provide warmth and character, transforming your living space into a cozy haven.
6. Elegantly Dyed Papers
If you dabbled in dyeing paper, use your art for various purposes. Craft homemade cards, bookmarks, or scrapbooking elements with an eco-friendly flair that showcases uniqueness.
Other Natural Dye Sources You May Not Consider
While we’ve discussed some of the most common kitchen waste items, you can get creative with many other sources. Here are a few unexpected ones that give surprisingly beautiful colors:
- Pomegranate skins for a golden hue.
- Carrot tops with an orange tint.
- Red cabbage creates varying shades of blue and purple, depending on pH.
- Avocados provide lovely shades of pink and beige.
Getting crafty with these options will truly make your projects stand out!
Final Thoughts: Let Nature Inspire Your Crafting Journey
By utilizing kitchen waste for DIY home decor, you're not just adorning your home with unique beauty, but you’re also contributing positively to the environment. Remember, the journey doesn’t stop with the first dye you create; it’s about exploration and expanding your artistic horizons to find what resonates with the vibe of your space.
Whether you’re knitting stunning wall hangings, stitching unique tableware, or gifting beautifully wrapped presents, using natural dyes enables your home to reflect personal stories and values. It’s an inflection of you!
Embrace this creative challenge, and you’ll find joy and satisfaction in every corner of your home decorated with nature's touch.
For more inspiration in transforming your space, check out our posts on how to create a serene retreat or discover biophilic designs to enhance your home’s ambience. Each project you tackle leads you one step closer to a home that feels uniquely yours.

